Table of Contents
Metafields allow you to store additional information on your products in Shopify. For Beatifyy Audio Player, you will use metafields to associate audio files like preview audio and demo audios with products. Follow these instructions to set up the required metafields.
Step 1: Access Metafields in Shopify #
- Log in to your Shopify admin dashboard.
- Navigate to Settings at the bottom of the left-hand menu.
- In the Settings page, scroll down and click on Metafields.
- Under Metafields, choose Products to create metafields that will be associated with your products.
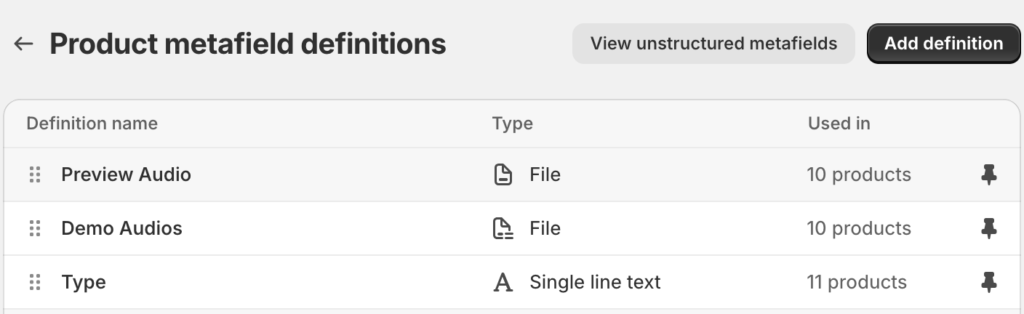
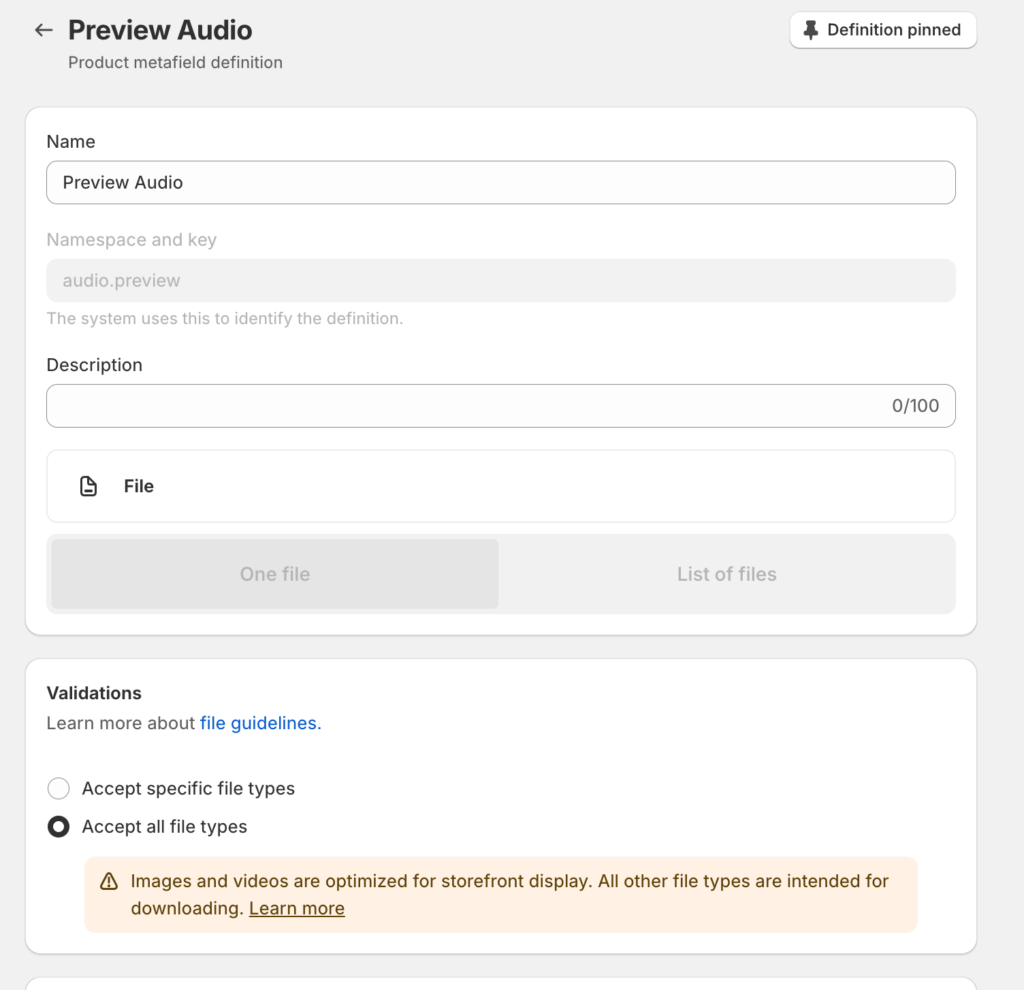
Step 2: Create the ‘Preview Audio’ Metafield Definition #
- In the Product Metafields section, click Add definition.
- Name: Enter
Preview Audioto define what this metafield will represent. - Namespace and Key: Enter
audio.preview. Shopify uses this to identify the metafield across your store. It is essential that this is set correctly as Beatifyy Audio Player will reference this key. - Description: Optionally, you can add a description to remind you what this metafield is for, like “This field holds the product’s preview audio file.”
- Type: Select
Filesince you will be uploading an audio file. - File Validation: Optionally, set file validation rules like supported file types or size limits.
- Save: Click Save to create the metafield.
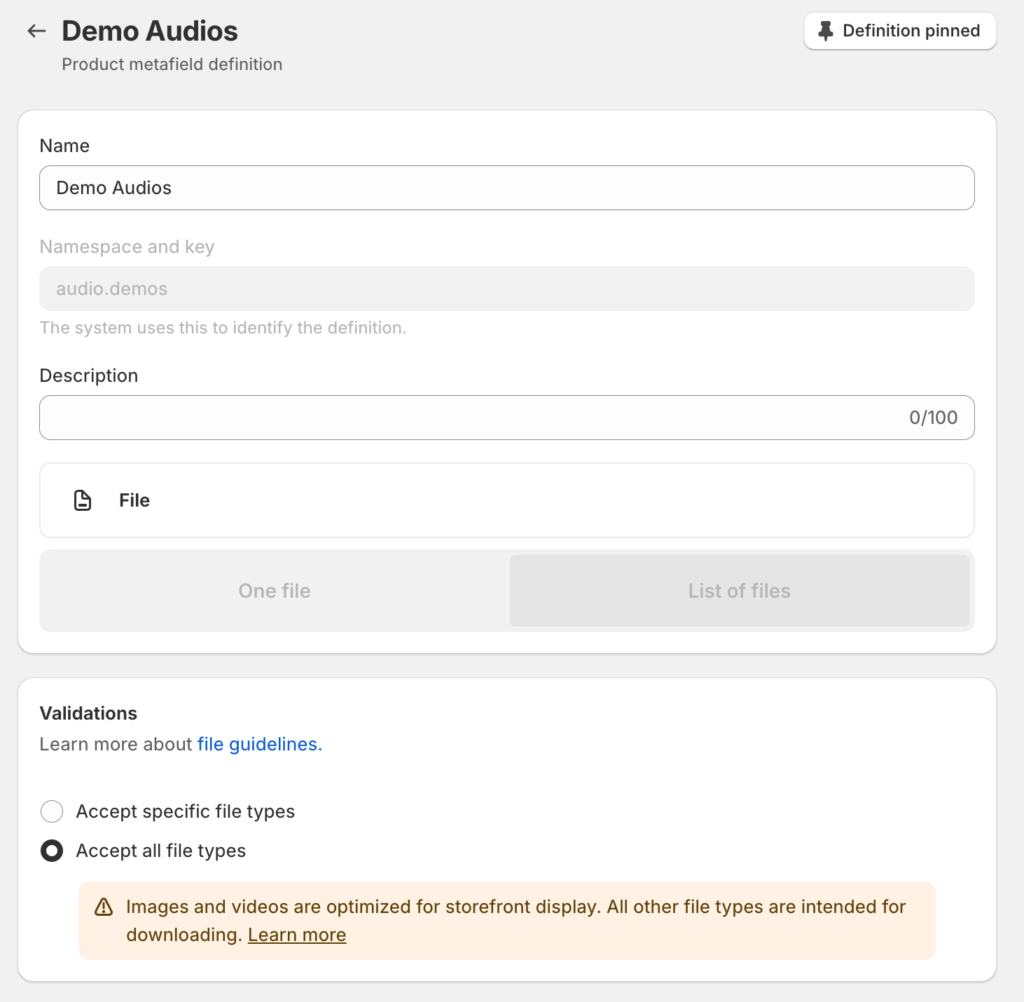
Step 3: Create the ‘Demo Audios’ Metafield Definition #
- Click Add definition in the Product Metafields section again.
- Name: Enter
Demo Audios. - Namespace and Key: Enter
audio.demos. - Description: Optionally, describe the metafield as “This field holds multiple demo audio files for the product.”
- Type: Choose
Fileto allow uploading of multiple audio files associated with the product. - Save: Click Save to create this metafield.
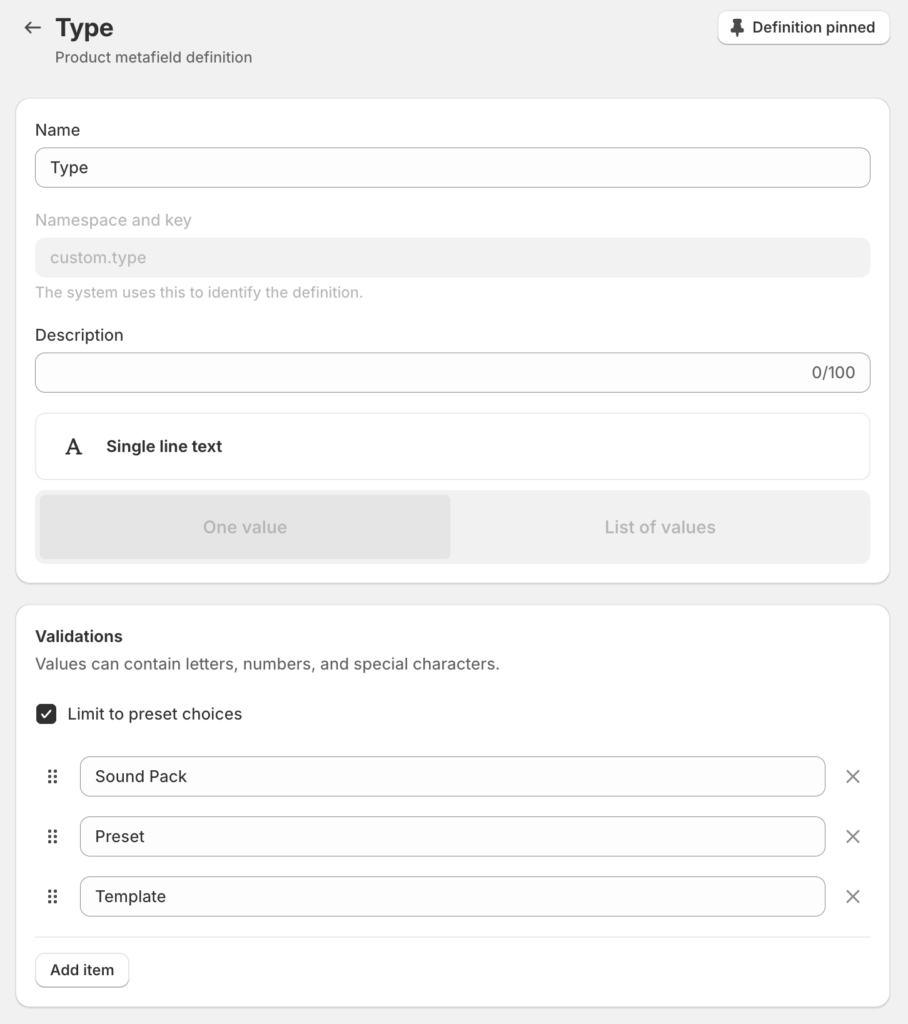
Step 4: Create the ‘Type’ Metafield Definition #
- Click Add definition again in the Product Metafields section.
- Name: Enter
Type. - Namespace and Key: Enter
custom.type. - Description: Optionally, you can describe the purpose of this metafield, like “This field defines the type of the product (e.g., Sound Pack, Preset, Template).”
- Type: Select
Single line text. - Choices: You can optionally limit the text to predefined choices by enabling the Limit to preset choices option. Add options like
Sound Pack,Preset, andTemplateif they apply to your products. - Save: Click Save to create this metafield.
Step 5: Apply Metafields to Products #
Now that the metafield definitions are set up, you can start adding values to your products.
- Go to Products from the left-hand menu.
- Open the product you want to add the metafield data to.
- Scroll down to the Metafields section at the bottom of the product editing page.
- You will see the fields for the metafields you created (
Preview Audio,Demo Audios, andType). - For
Preview Audio, upload the audio file that will be used as the preview for this product. - For
Demo Audios, upload multiple audio files if applicable. - For
Type, enter the appropriate product type (e.g.,Sound Pack,Preset, orTemplate). - Save the product after updating the metafields.
Step 6: Using the Metafields in Beatifyy Audio Player #
Beatifyy Audio Player will use these metafields to dynamically load the associated preview and demo audios when a customer views the product on your store.
Make sure you have correctly assigned the metafields to the appropriate products. Beatifyy Audio Player will automatically pull and play the audio files based on the values you have set for audio.preview and audio.demos.


